by Heather Morales
How to Make Custom Headpins
July 21, 2019
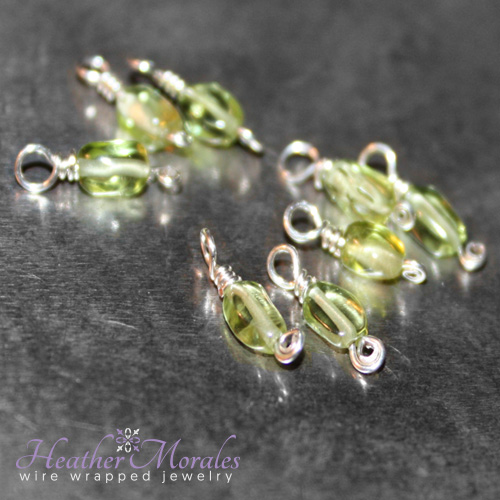
Mini Headpin Tutorial
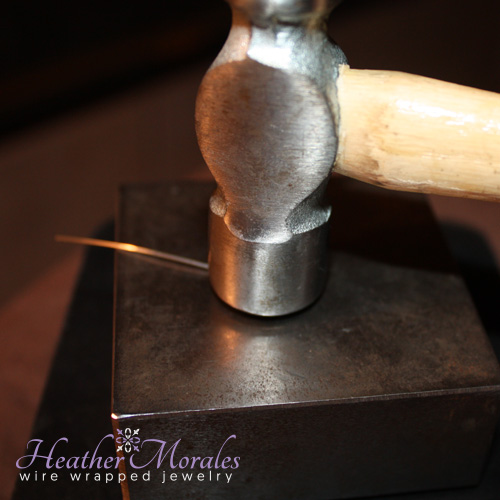
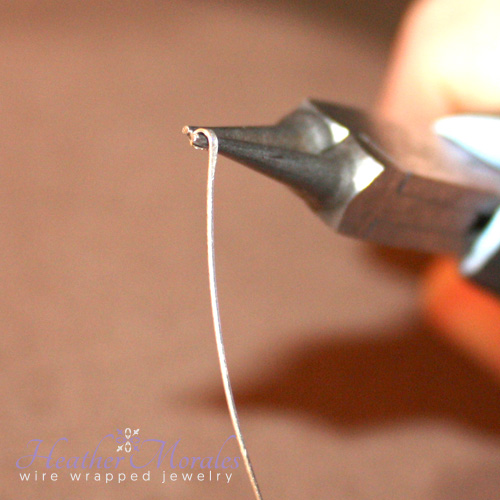
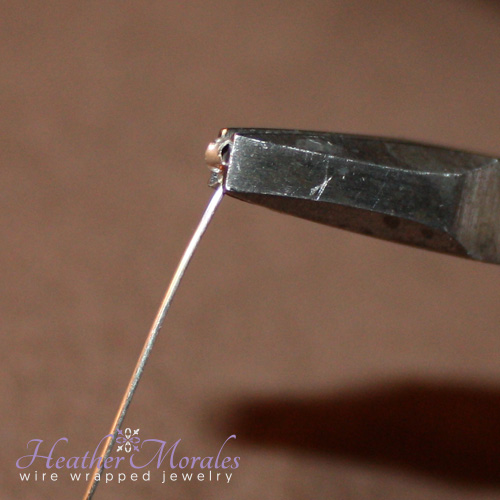
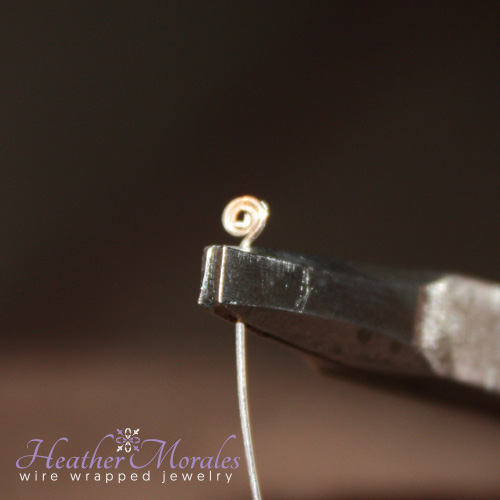
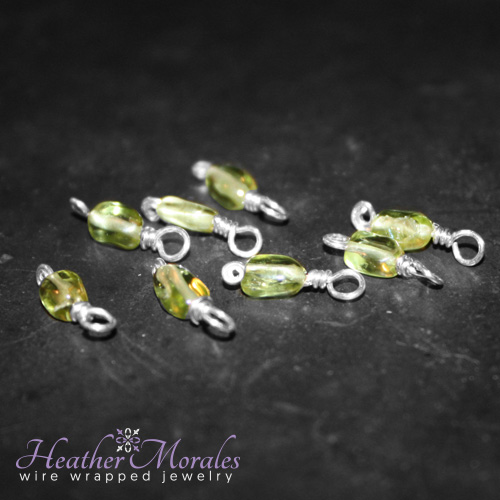
It can be frustrating when you start a project then realize you don’t have enough headpins to complete the piece you’re working on. Here is a quick and easy tutorial on how to create your own headpins.
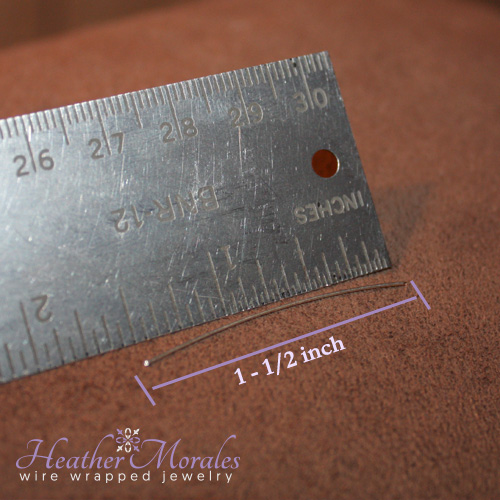
In this tutorial, I’m using 1½ inch of 26 gauge wire. Any gauge wire will work and the length will vary in regards to the size bead you are using but using 26 gauge wire works great for the average hole size for smaller beads. In this tutorial, I am using a 3 x 5mm peridot bead.
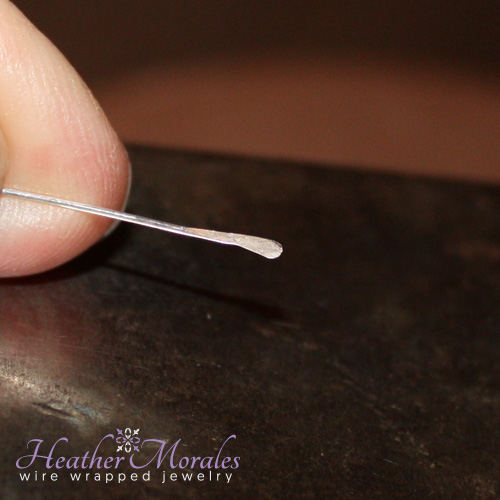
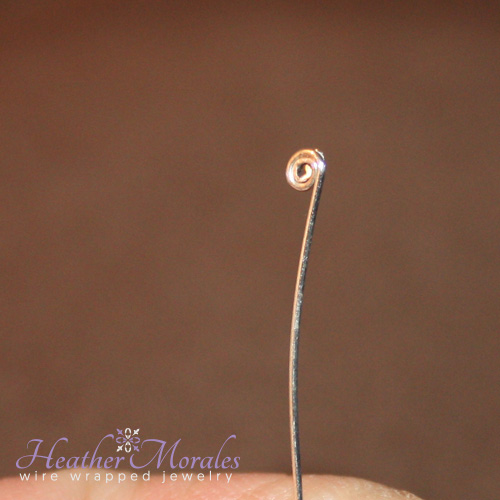
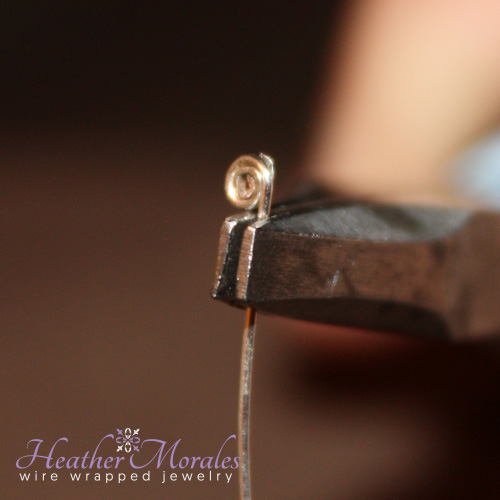
When the headpin is finished, typically you would want the wire to extend at least ¾ to 1 inch past the end of the bead. This will give you enough wire to create an average wrapped loop.
Enjoy!

Heather Morales crafts unique wire-wrapped jewelry, blending skill and artistry to create stunning, one-of-a-kind pieces. Her website showcases custom designs where metal and gemstones intertwine, revealing art that speaks directly to the heart. Explore her work for a touch of beauty and craftsmanship.