by Heather Morales
Notebook Insert Printing Instructions
January 21, 2020
The first time I bought a downloadable monthly calendar for
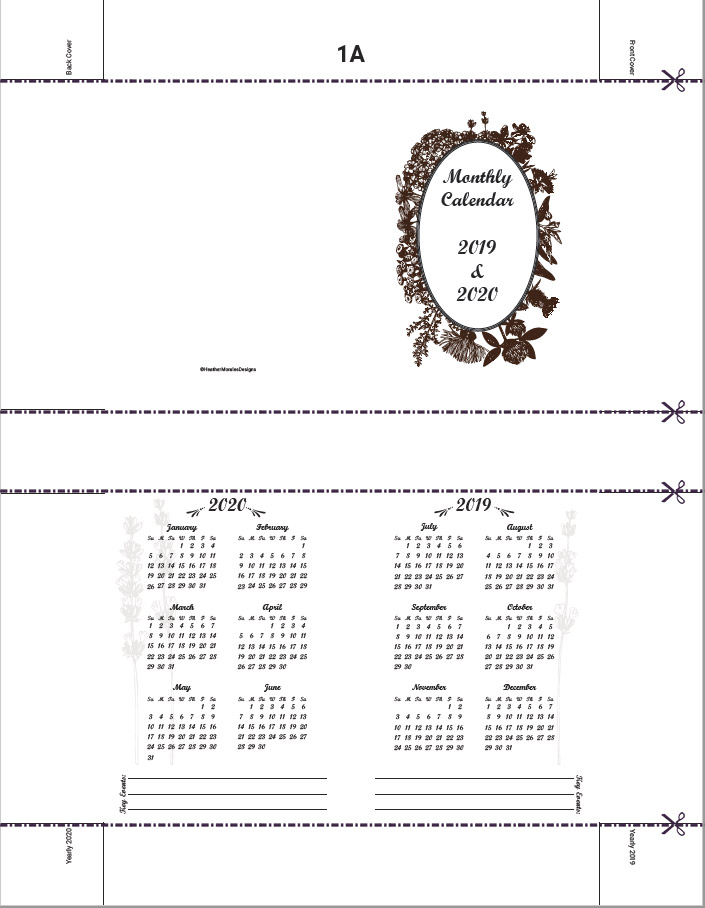
Please note: This calendar is meant to be printed Double-sided and these instructions are for your typical for a home printer that does not have the double-sided print feature. If you have a printer that has the double-sided feature or you have a more comfortable way of how you do it, you might what to stick with that.
Printing:
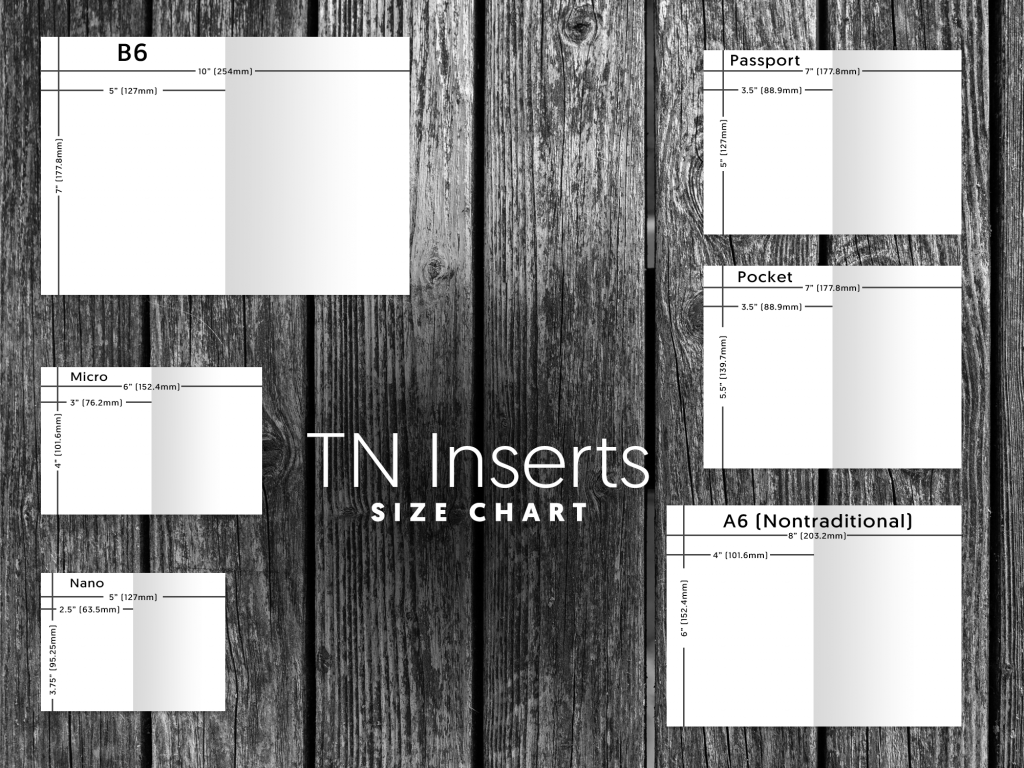
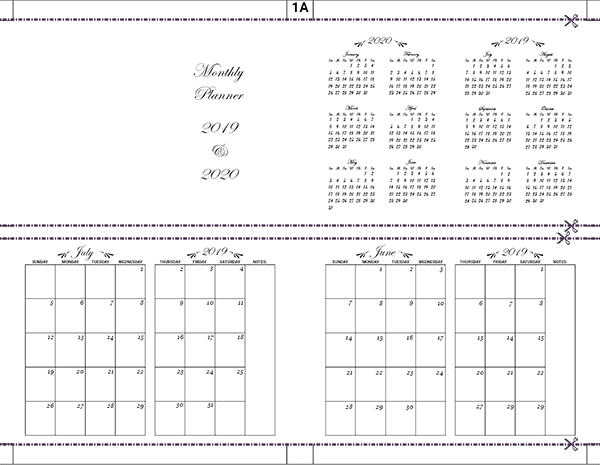
Below are the print instructions, first we’ll quickly go over the basic settings which should pretty universal for your basic home printer. Then there will be 3 groups based on similar print instructions. Meaning B6, A6 and Pocket have the same page layout and number of pages so the directions are exactly the same, even though the dimensions are different. Same with Passport and Micro layout.
The only different one is the Nano layout. Being so small I was able to strategically lay it out to use the minimal amount of paper. All it takes is 3 sheets to create the 15 month calendar (Nov 2019 to Jan 2021) with the a full 2020 and 2021 yearly calendar in the front and back. Personally, I always print on up a Nano size and stick in my wallet.
Basic Printing Settings:

Select the corresponding setting for your printer:
- Orientation >> Landscape
- Page Sizing & Handling >> Actual size
- Page to Print >> Pages / More Options / Odd or Even Pages: “Odd pages only”
*All printers are should have similar settings.
For B6, A6 and Pocket Inserts:
Once all the Odd pages are printed (1A, 2A, 3A, 4A, 5A, 6A, 7A, 8A, 9A), flip the pages over.
Arrange with 1A on top (facing down) and descending in order to 9A (all facing down).
Position your paper in the correct direction for your printer.
Change the settings on the “Page to Print” to “Even pages only”.
Then click “Print”. All 1B through 9B will have printed on the back of the correlating 1A though 9A pages. E.g. 1A will have 1B printed on the back, 2A will have 2B and so on).
For Passport and Micro Inserts:
Once all the Odd pages are printed (1A, 2A, 3A, 4A, and 5A), flip the pages over.
Arrange with 1A on top (facing down) and descending in order to 5A (all facing down).
Position your paper in the correct direction for your printer.
Change the settings on the “Page to Print” to “Even pages only”. Then click “Print”.
All 1B through 5B will have printed on the back of the correlating 1A though 5A pages. E.g. 1A will have 1B printed on the back, 2A will have 2B and so on.
For Nano Inserts:
Once all the Odd pages are printed (1A, 2A, 3A), flip the pages over.
Arrange with 1A on top (facing down) and descending in order to 3A (all facing down).
Position your paper in the correct direction for your printer.
Change the settings on the “Page to Print” to “Even pages only”. Then click “Print”.
All 1B through 3B will have printed on the back of the correlating 1A though 3A pages. E.g. 1A will have 1B printed on the back, 2A will have 2B and so on.
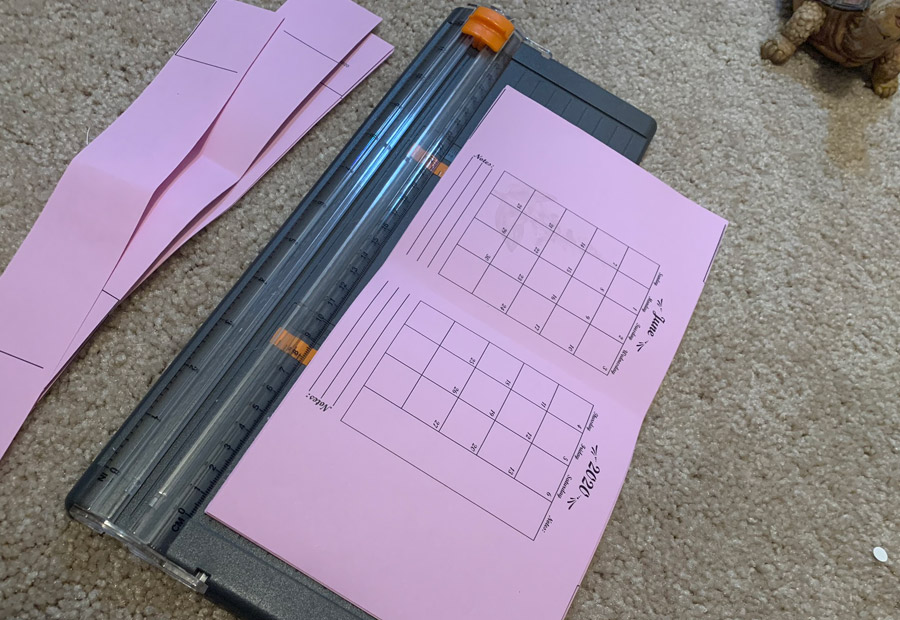
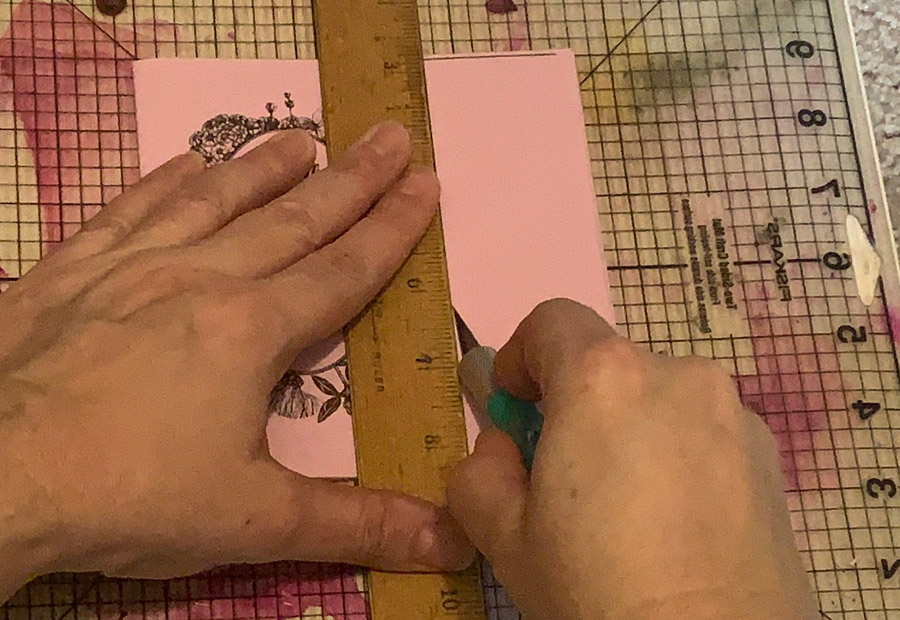
Trimming:
The trim instructions will be structured the same way the print instructions are above… meaning there will be 3 groups based on similar trim instructions. B6, A6 and Pocket will be grouped together, Passport and Micro are together and the Nano has its own set of instructions.
B6, A6 and Pocket: Single Calendar Page Layout
Always trim the top and bottom first and there is a reason for this, which I will explain further along the instructions. This one is the easiest layout because you simply remove the excess paper above and below the actual calendar layout at the crop marks.
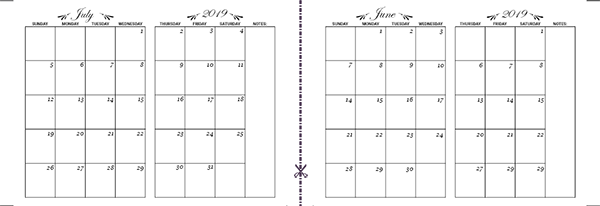
Passport and Micro: Double Calendar Page Layout
This one is pretty straight forward as well, trim the excess paper on the top, center and bottom of the crop mark.
Nano: Four Calendar Page Layout
And then there is the Nano, there always has to be that one that is a little more difficult than the rest. So, do the same as the other by trimming the top, center and bottom excess paper at the crop marks. Stack all the pages on tip of each other.
Then, cut precisely down the center of the page in-between the two center crop marks.
Note: I don’t have a trimmer that can cut all 9 pages in a single swipe, so I do set of 3 pages at a time.
Folding and Final Trim:
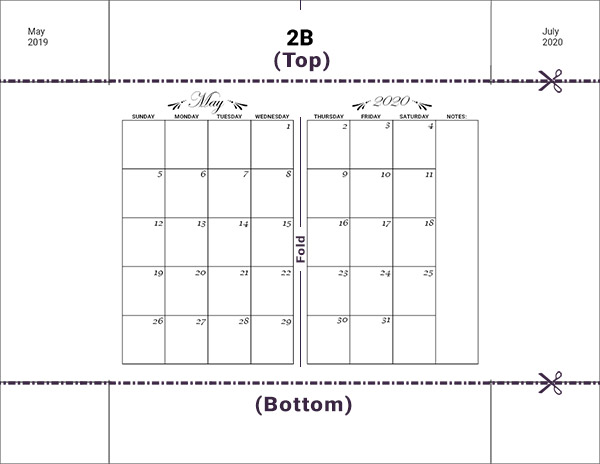
After everything trimmed size, then fold your paper in half at the “Fold” line in the diagram above. This will be directly between the month side and the year side of every page.
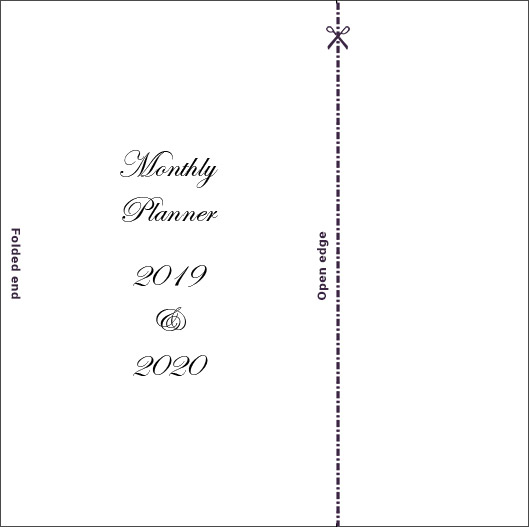
With the calendar booklet together, trim the open edge to the correct measurement of your specific TN insert. And here is why we trim the top and bottom first and leave the open edge trimming for last. People who are into bookmaking or making their own journals have experience with this. When you create a booklet and fold the pages in the center the edges will become uneven. Leaving this step last will ensure you have a nice clean, straight edge.
Voilà! Your calendar is ready to insert into your Traveler’s Notebook.
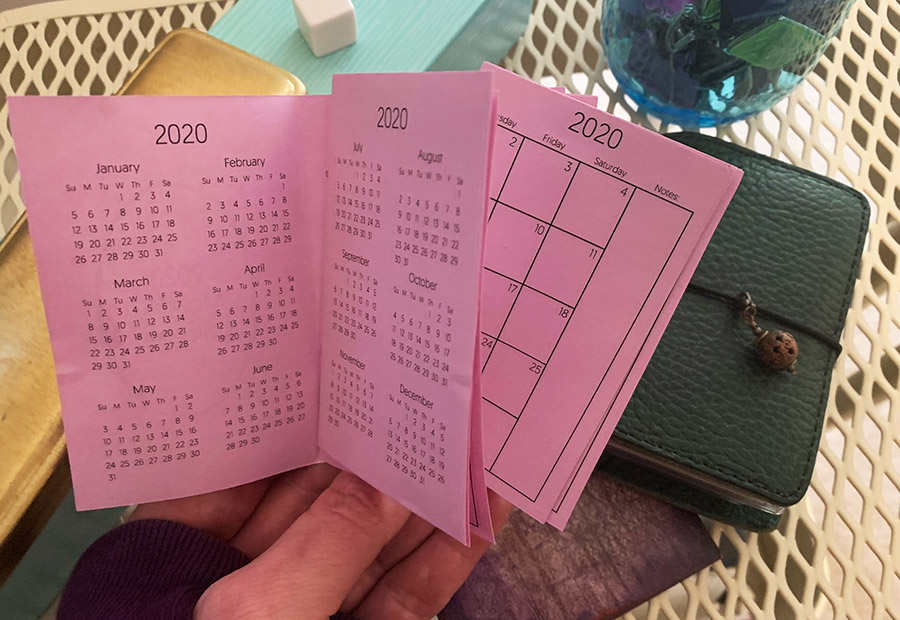
Calendar is Out of Order!
If your calendar is out of order, which is very easy to do. Fear not, below is a picture of the calendar order after
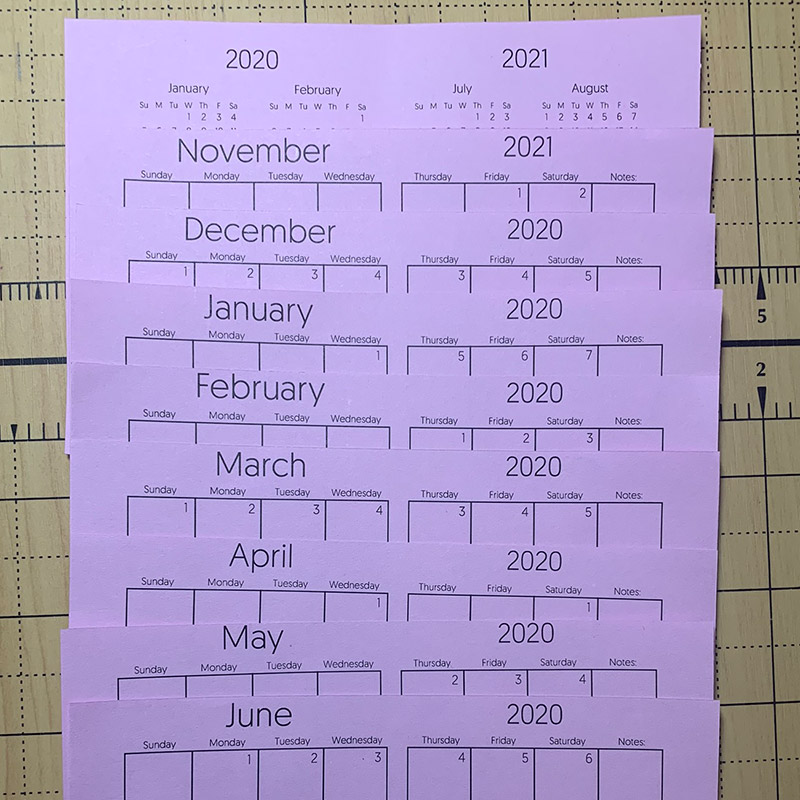
Making sure all your pages with the month/year is the same facing up as in the image, and they should be in the following order:
| Facing up order (Image above) | What is printed on the backside of the page |
| Yearly calendar 2020 – 2021 (on the bottom) | Front and back cover |
| November 2021 | Yearly calendar 2021 – 2020 |
| December 2020 | January 2019 |
| January 2020 | December 2019 |
| February 2020 | November 2020 |
| March 2020 | October 2020 |
| April 2020 | September 2020 |
| May 2020 | August 2020 |
| June 2020 (on the top) | July 2020 |
If you notice what is printed on the backside, is not what you see in the table above something went wrong. You will have to reprint the calendar. So, make sure after the first side is printed and you flip the paper over to feed it back into the printer, that 1A is on top (facing down) and descending in order.
These calendars are designed to be a foundation for your creativity, the sky is the limit on what you can do to embellish them. If you post any pictures of them decorated on Social Media, I would love to see it!

Heather Morales crafts unique wire-wrapped jewelry, blending skill and artistry to create stunning, one-of-a-kind pieces. Her website showcases custom designs where metal and gemstones intertwine, revealing art that speaks directly to the heart. Explore her work for a touch of beauty and craftsmanship.