by Heather Morales
How to Make a Wire Wrapped Bracelet
July 19, 2019
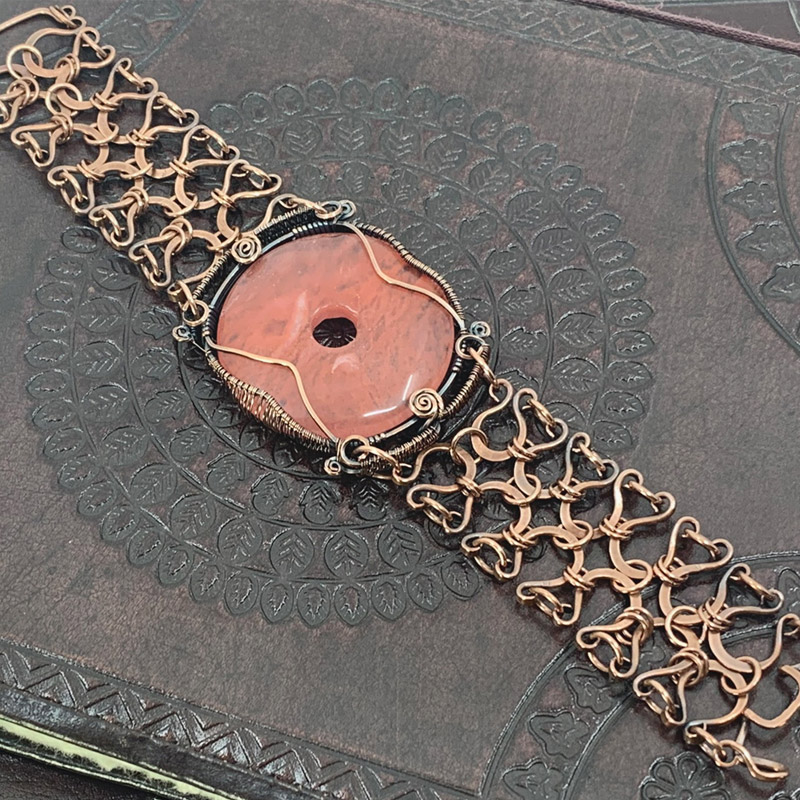
Inspiration for My Wire Wrapped Bracelet
This wire wrapped bracelet was created after seeing the movie Alice in Wonderland. I absolutely love Tim Burton’s dark, whimsical style!
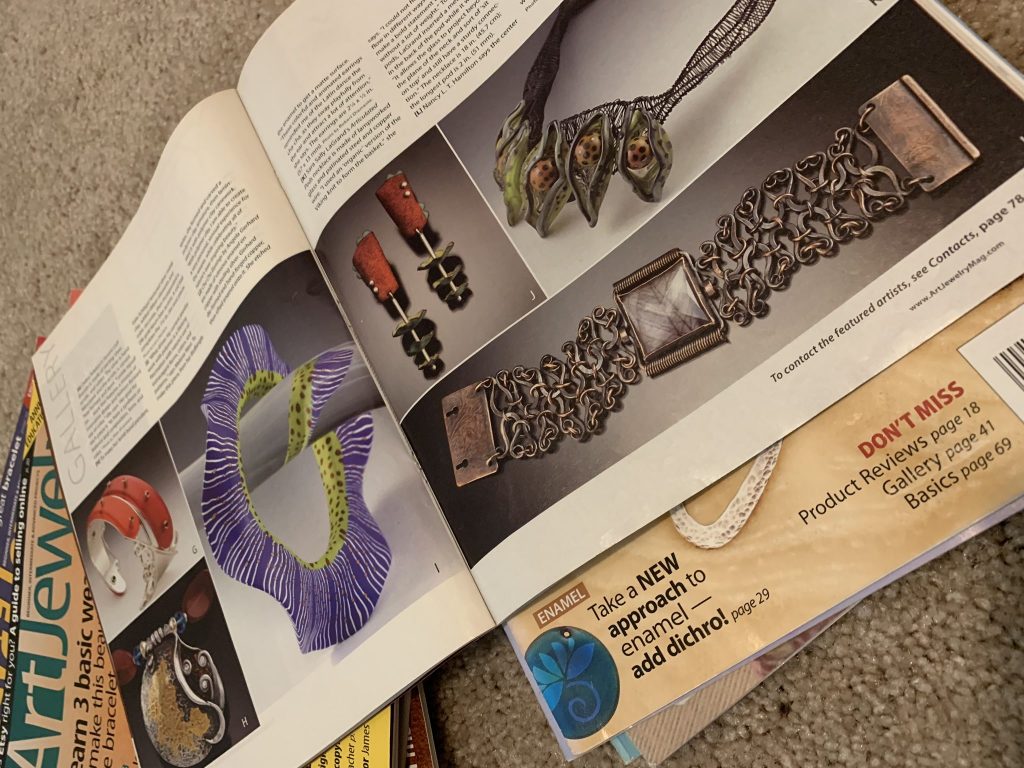
The chain portion of the bracelet was inspired by a featured piece of Nancy L. T. Hamilton in the Art Jewelry magazine, March 2010 issue. She is an awesome jewelry artist who has really great videos on jewelry making. When I first laid my eyes on that beautiful bracelet, I literally gasp with amazement. After obsessing over the who, what, why and
Side note: The funny thing is, I still have the magazine to this day, with a handful of others. Heres the proof:
Making Your Own Bracelet Links
The links were actually quite simple, especially when I found the right length of wire and gauge for each link. It became very systematic.
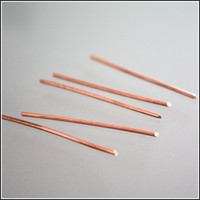
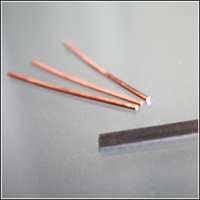
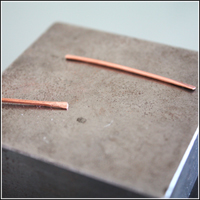
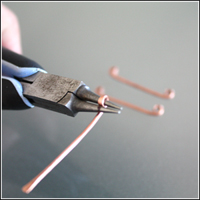
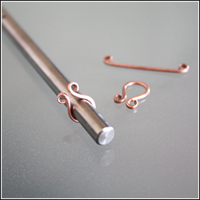
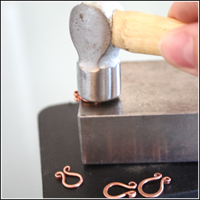
Easy-peasy!!!
Where I found difficulty was actually connect the links together with the jump rings. That completely try my patients beyond no end, as simple as the task may sound. The links kept folding on themselves and hooking to each other in a way that I could not keep them in the correct pattern. It was definitely “clench your butt cheeks” frustrating. I know some of you know what I’m talking about.
So, if you try this, my recommendation is patients and lay the links flat on a table in the pattern and connect them with the jump rings with little to no movement. Let the jump rings do all the work.
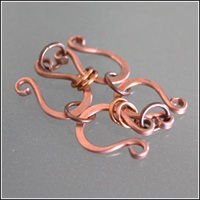
I know it seems weird, but the less you move the links the easier it will be to complete the pattern.
Simple Wire Wrapped Pendant
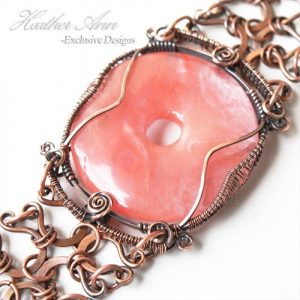
The center pendant was created using the basic wire wrapped pendant setting, with a couple different twists here and there.
After researching and finding a couple of really good wire wrap pendant tutorials to help me understand the fundamentals of encasing a cabochon, or in this case, a donut bead by using the “sheet” frame method, where you use 3 or more 21 gauge square wires to encase a cab.
Please note: I wrote the original blog post on Sept. 16 2010 and
The number of 21 gauge square wire depends on the width of your cab. Usually, you would have one-
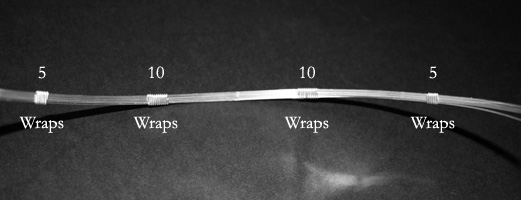
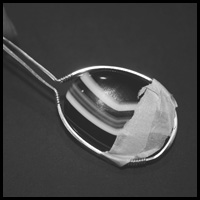
So, with your basic wire wrapped pendant you would wrap and form one whole “sheet” around your cab. Similar to the picture below.
Extra Twist on the Traditional Wire Wrapped Pendant
But, in the case of my Alice in wonderland inspired wire wrapped bracelet I used two sheets (4 – 21 gauge square wire each). One for each side (left and right) and bound at each end with the half round wire.
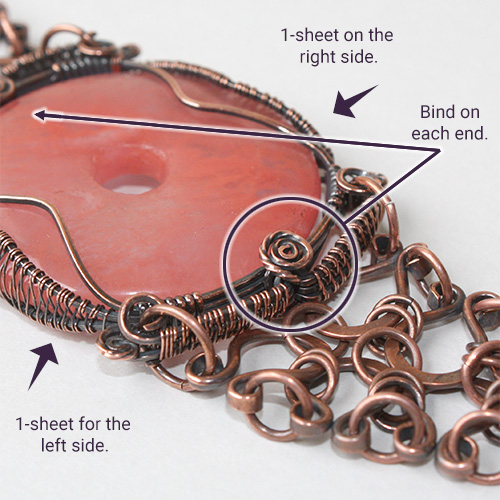
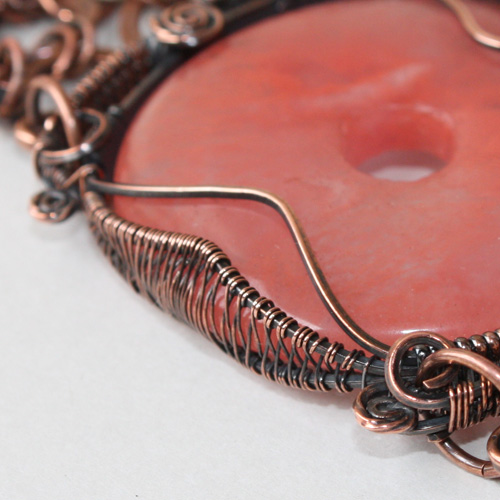
The wire extended out past where the two sheets were bound on both ends, I did a basket weave using the 28 gauge then secured it back onto itself. Creating a large loop with the last of the wire where I can feed an even larger jump ring to attach the link band.
Once everything is in its desired spot and the link band was attached, I used 28 gauge wire to create the basic figure 8 weave on each side. It definitely was not easy and a bit of an afterthought, it took me three times on each side to get it right. But the added detail was definitely worth it.
Finally, the Clasp
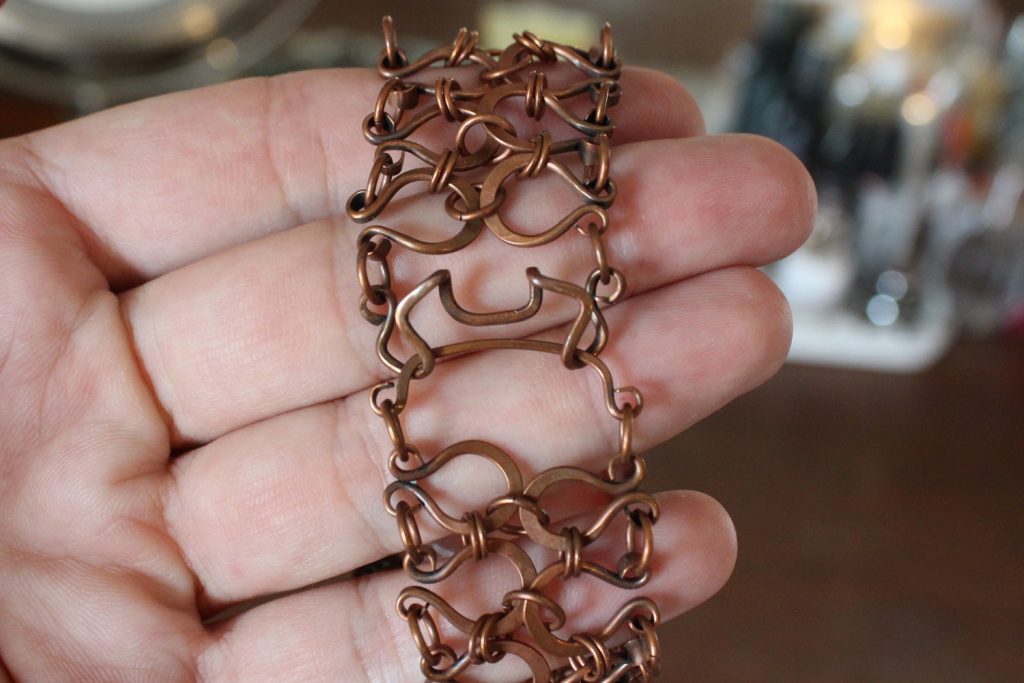
The clasp is pretty much a story in itself… to be honest, it was a pain in the butt. I didn’t want to use a store-bought clasp, it definitely had to be handmade (go big or go home, right?).
So for being handmade my main concern was security. I didn’t want it to come undone too easily, naturally. On top of all that, the clasp had to be the widths of the bracelet. I figured a form of hook clasp would be best, but not very secure. So final, thought about trying a double hook clasp, or at least that is what I’m calling it. Where the clasp is folded an extra turn onto itself.
After about four or five tries I ended up sticking with the first one I did. It was the most symmetrical. Once I hooked the bracelet together with this clasp, I knew it was perfect for this bracelet. It won’t go anywhere, yet easy to do and undo.
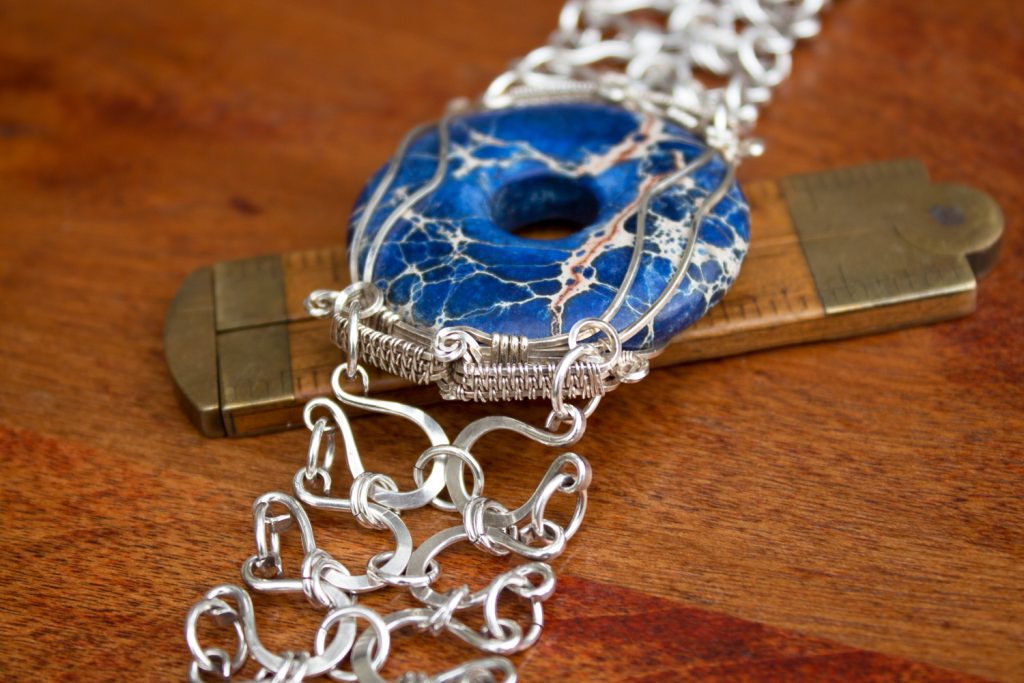
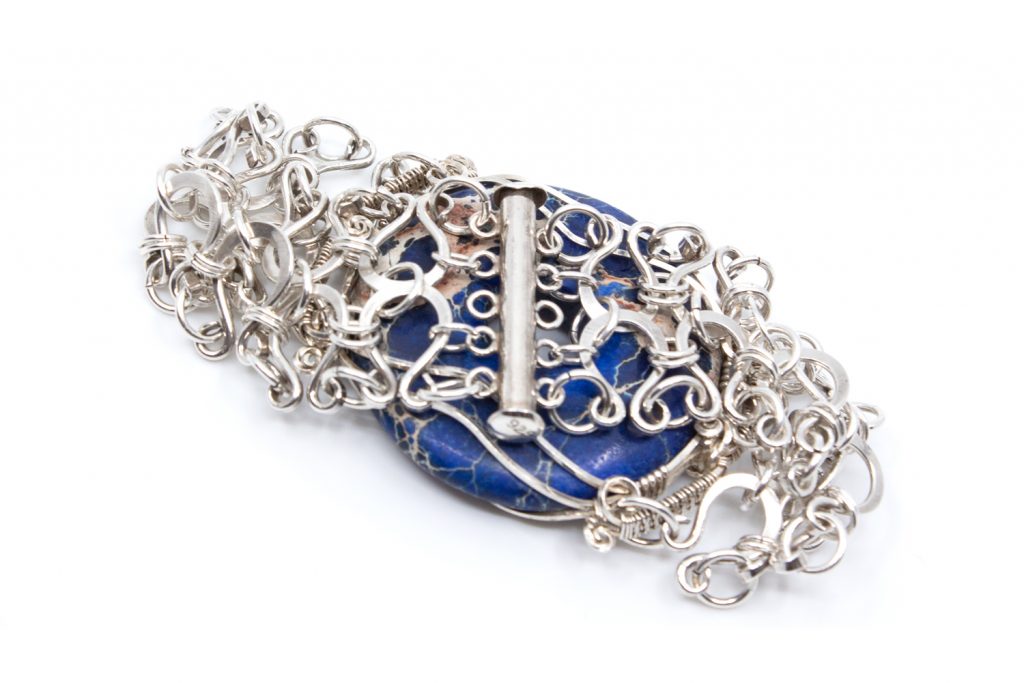
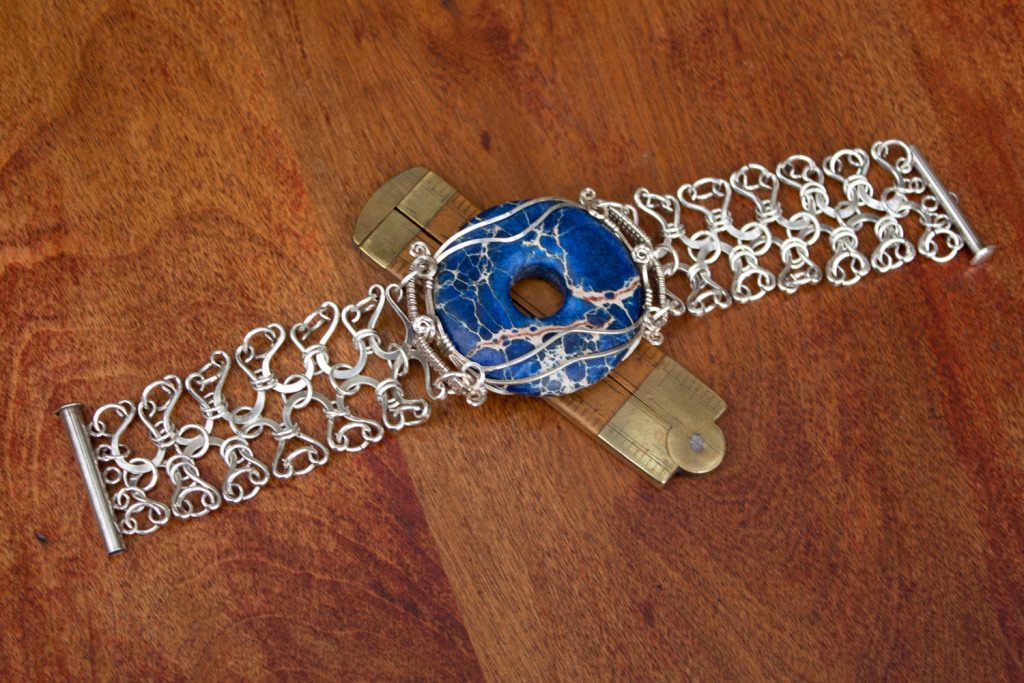
And if I didn’t torture myself enough with this copper version, I also created it in a Sterling silver version. There are a few elements that are slightly different. The clasp is store bought and I didn’t do the weaving on the sides, but nonetheless it is gorgeous in person. And yes, the magnesite stone is that vivid blue.

Heather Morales crafts unique wire-wrapped jewelry, blending skill and artistry to create stunning, one-of-a-kind pieces. Her website showcases custom designs where metal and gemstones intertwine, revealing art that speaks directly to the heart. Explore her work for a touch of beauty and craftsmanship.